3D Design & Animation school
Certificate in 3D Texturing Using Blender
Stop your models looking like gray plastic.
A Blender texturing course that builds materials out of nodes instead of photographs, paints a face by hand in layers, then animates and renders the result as one finished clip.
Overview
What this Blender texturing course covers
Most texturing tutorials open by telling you to download a texture. This Blender texturing course goes the other way, into the shader editor, building nine materials out of nodes alone: rock, scratched metal, glass, a human eye, cloth, denim and a pair of shoes that reuses everything before it. No image files, no unwrapping, no resolution to run out of.
Then a brush. You paint a face by hand in layers, an underpainting in three colors before lips, pores and freckles, and bake the result down to images anything can open. The largest stretch is a genuine bonus: animation on a free rig, blocking through to polish, with a run and a jump joined into one continuous shot. You finish with a rendered clip rather than a screenshot of a material ball.
Outcomes
What you will be able to do
Requirements
Course requirements
- Blender 3.6 LTS specifically. The animation module assumes it, and the free rig used there is version-sensitive.
- Comfort with Blender basics: adding objects, entering edit mode, selecting faces. Nothing here builds a mesh from scratch.
- Two free downloads: a layer-based painting add-on, and the rig and base mesh bundle used in the animation module.
- A mouse is enough. A tablet helps in the painting module and is genuinely not required.
Syllabus
3D Texturing Using Blender curriculum
29 recorded video lessons you follow along in the software, at your own pace. Quizzes through each module check what stuck, and a 20-question final exam earns your certificate.
1Procedural Texture and Material Creation9 lessons · 8 videos · quiz
- Welcome (reading)
- Course Overview and Learning Expectations (video lesson, 5 minutes 2 seconds)
- Creating Procedural Rock Textures (video lesson, 7 minutes 3 seconds)
- Creating Procedural Scratch Effects (video lesson, 7 minutes 1 second)
- Creating Procedural Glass Materials (video lesson, 8 minutes 20 seconds)
- Creating Procedural Eye Materials (video lesson, 20 minutes 23 seconds)
- Creating Procedural Cloth Materials (video lesson, 7 minutes 4 seconds)
- Creating Procedural Denim Materials (video lesson, 8 minutes 34 seconds)
- Creating Procedural Shoe Materials (video lesson, 28 minutes 41 seconds)Quiz
23D Texture Painting Techniques6 lessons · 6 videos · quiz
- Setting Up Face Texture Painting (video lesson, 3 minutes 25 seconds)
- Face Texture Painting Part 1 (video lesson, 18 minutes 21 seconds)
- Face Texture Painting Part 2 (video lesson, 14 minutes 42 seconds)
- Face Texture Painting Part 3 (video lesson, 27 minutes 56 seconds)
- Face Texture Painting Part 4 (video lesson, 5 minutes 49 seconds)
- Face Texture Painting Part 5 (video lesson, 16 minutes 30 seconds)Quiz
3Animation, Scene Assembly and Rendering10 lessons · 10 videos · quiz
- Setting Up the Scene (video lesson, 7 minutes 38 seconds)
- Run Animation Part 1 (video lesson, 34 minutes 57 seconds)
- Run Animation Part 2 (video lesson, 36 minutes 44 seconds)
- Blocking a Jump Animation (video lesson, 28 minutes 41 seconds)
- Refining a Jump Animation Blockout (video lesson, 26 minutes 19 seconds)
- Polishing a Jump Animation (video lesson, 30 minutes 6 seconds)
- Blocking a Sitting Animation (video lesson, 29 minutes 38 seconds)
- Polishing a Sitting Animation (video lesson, 33 minutes 24 seconds)
- Assembling the Combined Animation (video lesson, 33 minutes 57 seconds)
- Rendering the Combined Animation (video lesson, 17 minutes 22 seconds)Quiz
4Blender 3.6 and 4.2 Workflow Comparisons5 lessons · 5 videos
- Comparing Blender 3.6 and 4.2 (video lesson, 4 minutes 41 seconds)
- Comparing Asset Manager Features (video lesson, 3 minutes 27 seconds)
- Comparing Graph and Shader Editor Features (video lesson, 2 minutes 47 seconds)
- Comparing Procedural Texture Workflows (video lesson, 17 seconds)
- Comparing Ucupaint Workflows (video lesson, 1 minute 57 seconds)
Certificate
Earn a certificate you can show
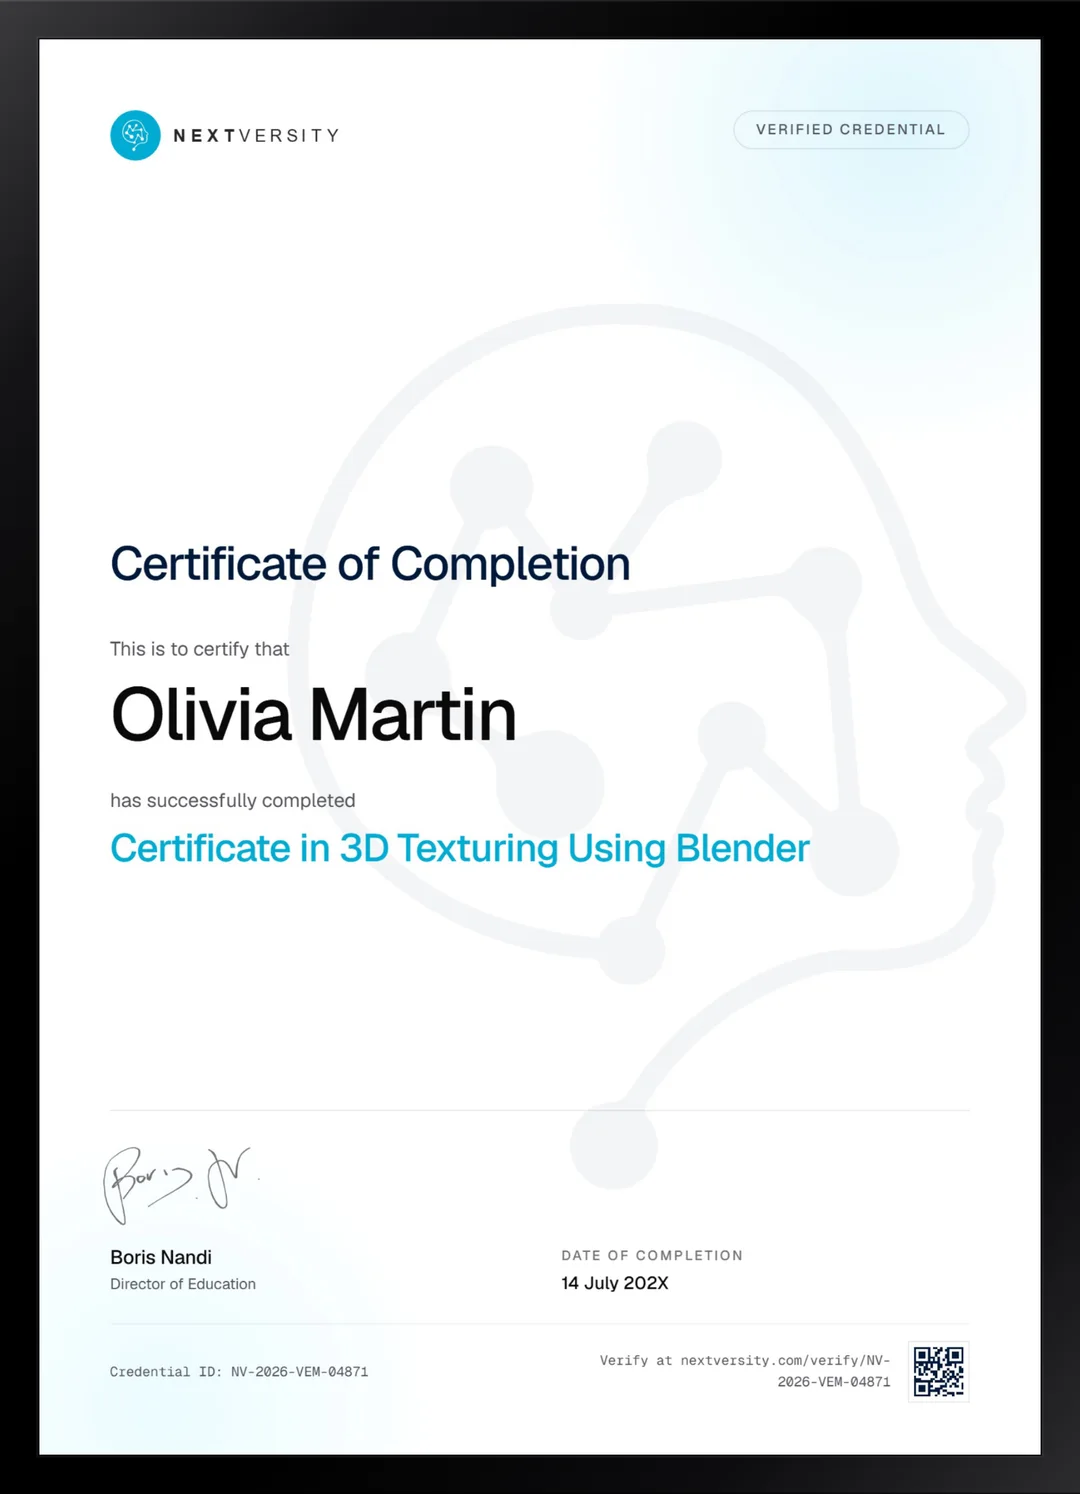
Finish the final module and your 3D Texturing Using Blender certificate is issued automatically. Download it, share it with employers and clients, or add it to your resume and LinkedIn.
Where this can take you
Skills from this school show up in roles like these. The certificate proves you finished; the projects you build are what get you hired.
- 3D modeler
- 3D generalist
- Environment artist
- Product visualization artist
Enroll with confidence
Enroll with confidence
Full details in the refund policy. One subscription covers this course and every other course in all 8 schools.
Pair it with
More from the 3D Design & Animation school
 Certificate
Start at the download page and finish with an object modeled, sculpted, unwrapped, textured, lit and rendered.
77 lessonsSelf-pacedCertificate
 Certificate
Two game-ready characters in Blender, from the concept sketch through sculpt, retopology, textures and final render.
216 lessonsSelf-pacedCertificate
FAQ
Common questions about the Blender texturing course
Do I need to know how to model before a texturing course?
A little. Nothing here builds a mesh: the rock is a displaced cube and the head you paint comes from a free asset pack already unwrapped. You need to be able to add an object, enter edit mode and select faces without thinking about it. If that is unfamiliar, take the Blender fundamentals certificate first.
What is procedural texturing, and why not download a texture?
A procedural material is built from nodes rather than image files, so it has no resolution to run out of and needs no UV unwrapping at all. You can scale it to a wall or a coin and it stays sharp. Downloaded textures are useful too, but building them yourself is what lets you make something nobody else has.
Why does a Blender texturing course teach animation?
Because a large part of it is animation, and pretending otherwise would waste your time. The biggest module blocks, breaks down, splines and polishes work on a free rig, then joins two animations into one continuous shot. Treat it as a genuine bonus: you get a texturing course and a solid introduction to animation in the same certificate.
Does this course cover UV unwrapping?
Barely, and that is deliberate. Procedural materials skip UVs almost entirely, which is the point of them, and the head in the painting module arrives already unwrapped. If image-based texturing and unwrapping is specifically what you need, the character modeling certificate in this school covers both properly, including baking with a cage.
Which version of Blender do I need for this course?
Blender 3.6 LTS specifically. The lessons record in it, the animation module assumes it, and the free rig used there behaves differently in other releases. A short closing module compares 3.6 against 4.2 so you can decide which one to keep working in once the course is finished.
Are the add-ons free, and what do I have to download?
Everything is free. You fetch a layer-based painting add-on yourself, because the whole painting module is built on it, plus a rig and a base mesh bundle for the animation work. Six more options simply need switching on in Blender preferences, and one lesson walks through exactly where each of them lives.
How long does the Blender texturing course take?
Roughly 25 to 35 hours if you build alongside, which is the only way any of it sticks. Most of that is time in Blender rather than time watching. It is one of the shorter certificates in this school, and it changes how your work looks more immediately than almost anything else you could learn next.
Free info pack
Not ready to enroll? Start with the guide.
The full curriculum for this course, what you'll build, and how it fits with the rest of the school, in one short guide.