Video Editing & Motion Graphics · Guide
How to edit a video: a complete beginner walkthrough
Import, cut, order, trim, sound, color, export. The same seven steps in every editor ever made. Here is what each one is for and where beginners lose the most time.
The Nextversity teamVideo Editing & Motion Graphics schoolUpdated August 10, 20266 min read
On this page
- The short answer
- Step 1: import and organize
- Step 2: watch everything and mark the good bits
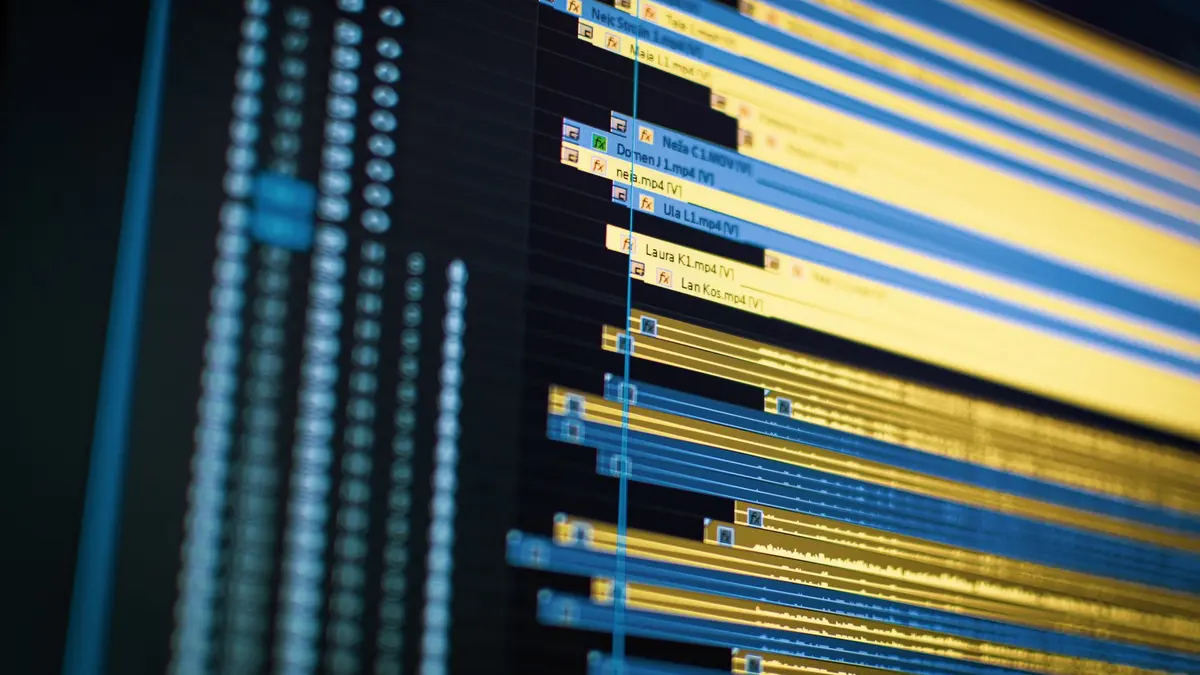
- Step 3: build the rough sequence
- Step 4: trim, and this is the actual editing
- Step 5: sound, which matters more than picture
- Step 6: color
- Step 7: export
- Which software to start in
- What to edit first
- Where to learn it
The short answer
Every video edit, in every program ever made, follows the same seven steps:
- Import your footage
- Watch and cut the unusable parts
- Order the clips into a sequence
- Trim the joins so it flows
- Sound: music, levels, cleanup
- Color correction, then look
- Export
Learn that sequence and the software becomes a detail. Skipping straight to effects is the most common reason a first edit takes six hours and still feels wrong.
Step 1: import and organize
Copy everything off the card into one project folder before you start. Inside it, keep footage, audio and exports separate.
Ten minutes of organization saves an hour of hunting later, and it is the difference between a project you can reopen next month and one you cannot.
Step 2: watch everything and mark the good bits
Watch all your footage once, before cutting anything. Note the timecodes of what is usable.
Beginners skip this and start cutting from the top, which is how you spend two hours perfecting an opening you later delete.
Step 3: build the rough sequence
Drag the good clips onto the timeline in roughly the right order. Do not trim carefully, do not add anything, do not fix the color.
The goal is a watchable shape at the wrong length. Only once the shape exists can you tell what is missing.
Step 4: trim, and this is the actual editing
Now tighten every join. Three ideas do most of the work:
- Cut on action. Cutting mid-movement hides the join. Cutting between movements draws attention to it.
- Start late, leave early. Come into a clip after the action begins and leave before it ends. Almost every beginner clip is two seconds too long at both ends.
- Watch it at full speed. Anything that makes you reach for the scrub bar is a moment that needs cutting.
Ruthlessness here is what separates a five-minute video that holds attention from an eight-minute one that does not.
Step 5: sound, which matters more than picture
The single biggest quality jump available to a beginner.
- Fix the levels. Dialogue around -12 to -6 dB, music well underneath it, nothing touching 0.
- Clean the dialogue. Most editors have noise reduction now. A little goes a long way.
- Add music that fits the pace, and duck it under speech.
- Add room tone or atmosphere under everything, so silence does not fall away to nothing at each cut.
People forgive imperfect picture. They stop watching bad audio within seconds.
Step 6: color
Two stages, in order:
Correction makes it accurate: white balance, exposure, contrast so it looks like real life.
Grading makes it feel like something: the mood, the look, the consistency across shots.
Do correction on every clip first. A grade applied over inconsistent shots just makes an inconsistent video with a filter on it.
Step 7: export
H.264 in an MP4 container, at your footage's resolution and frame rate, covers nearly everything. Bitrate around 10 to 20 Mbps for 1080p is plenty for the web.
Change the frame rate only on purpose. Accidentally exporting 24 fps footage at 30 produces stutter that people notice without knowing why.
The mistake almost every beginner makes is spending an hour on effects and five minutes on audio. Reverse those two and your videos improve overnight.
Which software to start in
- CapCut for short social video. Fast, free to start, phone and desktop.
- DaVinci Resolve if you want a genuinely professional tool that is free. Its own product page sets out the free-versus-paid split.
- Filmora if you want something simpler than Resolve with more depth than CapCut.
- Premiere Pro if a job or a studio expects it. Adobe's user guide is the reference.
There is a comparison of Premiere and Resolve if you are choosing between the professional options.
What to edit first
Something short with a point. A two-minute how-to, a trip recap, a demo of something you own. Short forces decisions, and decisions are the skill.
Then do another one next week. Ten short finished edits will teach you more than one ambitious project you abandon in month two.
Where to learn it
The Video Editing & Motion Graphics school covers Resolve, CapCut, Filmora, Premiere Pro and After Effects. One subscription opens all of them, so switching tools never costs a course.
Rough cut first, sound second, color third, effects last if at all.
Questions people ask
What is the easiest video editing software for beginners?
CapCut for short social video, iMovie if you are on Apple hardware, and DaVinci Resolve if you want a free tool you will not outgrow. All three will get a first edit finished.
How long does it take to learn video editing?
A weekend to complete a simple edit. A few months of regular practice to be genuinely comfortable. Editing is a craft with a long ceiling, and the first useful plateau arrives quickly.
What should I edit first?
Something short with a clear point: a two-minute how-to, a trip recap, a product demo. Short forces decisions, and decisions are what editing actually is.
Do I need a powerful computer to edit video?
For 1080p, most recent machines cope. 4K and heavy effects want more memory and a decent graphics card. Proxy workflows let modest machines edit large footage smoothly.
What export settings should I use?
H.264 in an MP4 container at the same resolution and frame rate as your footage covers almost everything. Only change the frame rate deliberately, because changing it by accident causes stutter.